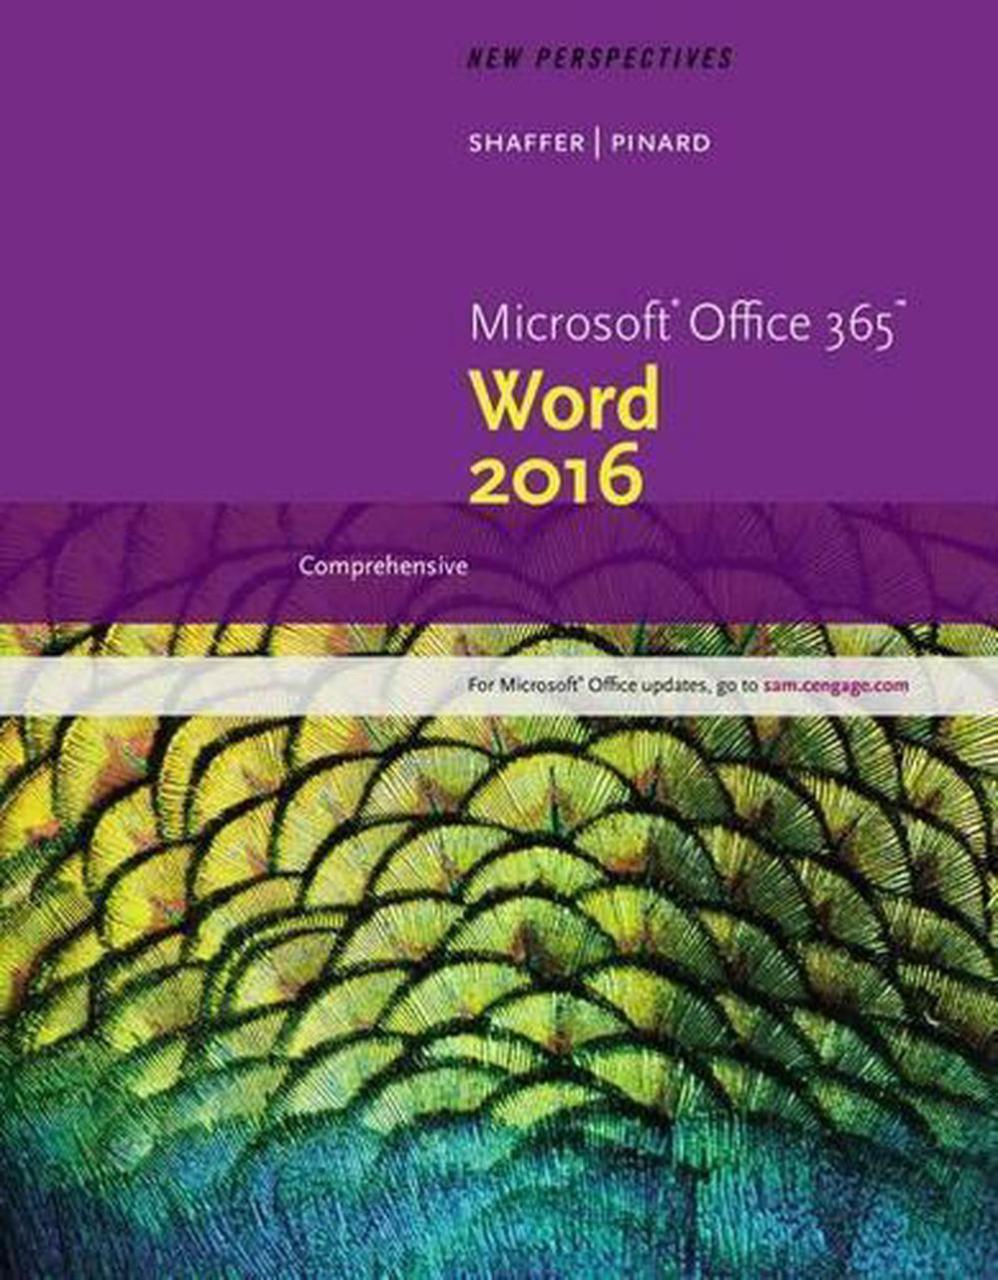
Comprehensive Tutorial for Microsoft Word
Introduction
Microsoft Word is a widely used word processing software that allows users to create, edit, and format documents. This tutorial provides a comprehensive guide to the essential features and functionalities of Microsoft Word, empowering you to create professional-looking and effective documents.
Getting Started
- Launch Microsoft Word: Click on the Microsoft Word icon in the Start menu or taskbar.
- Create a New Document: Click on "File" > "New" to create a blank document.
- Open an Existing Document: Click on "File" > "Open" to browse and select an existing document.
Formatting Text
- Font: Change the font style, size, and color using the "Font" group on the "Home" tab.
- Alignment: Align text left, right, center, or justify using the "Paragraph" group on the "Home" tab.
- Indentation: Adjust the indentation of paragraphs using the "Indentation" options in the "Paragraph" group.
- Line Spacing: Set the spacing between lines of text using the "Line Spacing" options in the "Paragraph" group.
- Page Margins: Customize the margins of the page using the "Page Setup" dialog box under the "Page Layout" tab.
Inserting Content
- Images: Insert images by clicking on "Insert" > "Pictures" and browsing for the desired image.
- Tables: Create tables by clicking on "Insert" > "Table" and specifying the number of columns and rows.
- Charts and Graphs: Add charts and graphs by clicking on "Insert" > "Chart" or "Insert" > "Graph".
- Page Numbers: Insert page numbers using the "Page Number" options in the "Header & Footer" group on the "Insert" tab.
Layout and Design
- Page Orientation: Change the page orientation to landscape or portrait using the "Orientation" option in the "Page Setup" dialog box.
- Page Break: Insert a page break to start a new page at a specific location using "Insert" > "Page Break".
- Sections: Divide the document into sections with different settings for each section using "Page Layout" > "Breaks" > "Section Break".
- Themes: Apply pre-designed themes to enhance the visual appeal of the document using "Design" > "Themes".
Collaboration and Review
- Sharing Documents: Share documents with others via email or cloud storage using "File" > "Share".
- Comments and Tracking: Add comments and track changes to collaborate with others on the document using "Review" > "Comments" and "Track Changes".
- Versions: Save multiple versions of the document using "File" > "Info" > "Versions".
Advanced Features
- Mail Merge: Create personalized letters and emails by merging data from a data source using "Mailings" > "Mail Merge".
- Citations and References: Add citations and create bibliographies using "References" > "Citations & Bibliography".
- Macros: Automate repetitive tasks using macros by recording and executing a series of commands.
- Templates: Create reusable templates to streamline document creation using "File" > "New" > "Templates".
Tips for Effective Use
- Use Headings and Subheadings: Organize your text using headings and subheadings to improve readability.
- Keep Formatting Consistent: Maintain consistent formatting throughout the document to enhance visual appeal.
- Proofread Carefully: Review your document thoroughly for errors in grammar, spelling, and punctuation.
- Utilize Shortcuts: Learn keyboard shortcuts to speed up your workflow.
- Explore Online Resources: Take advantage of Microsoft’s support website and online forums for additional assistance and tips.
Conclusion
Microsoft Word is a powerful tool that can empower you to create professional and impactful documents. By mastering the essential features and functionalities covered in this tutorial, you can enhance your productivity and produce high-quality written work. Remember to practice regularly and stay up-to-date with the latest features to get the most out of Microsoft Word.


